
|
|
|||||||
| Technical threads All discussions about technical issues |
 |
|
|
Thread Tools | Display Modes |
|
#71
 10-23-2012, 01:24 PM
|
|||
|
|||
|
Here a some shots of the settings I use, aiming for a more 'natural' look. The colour change seems much more noticeable ingame though.
8 AM: (1st pic is default colours) 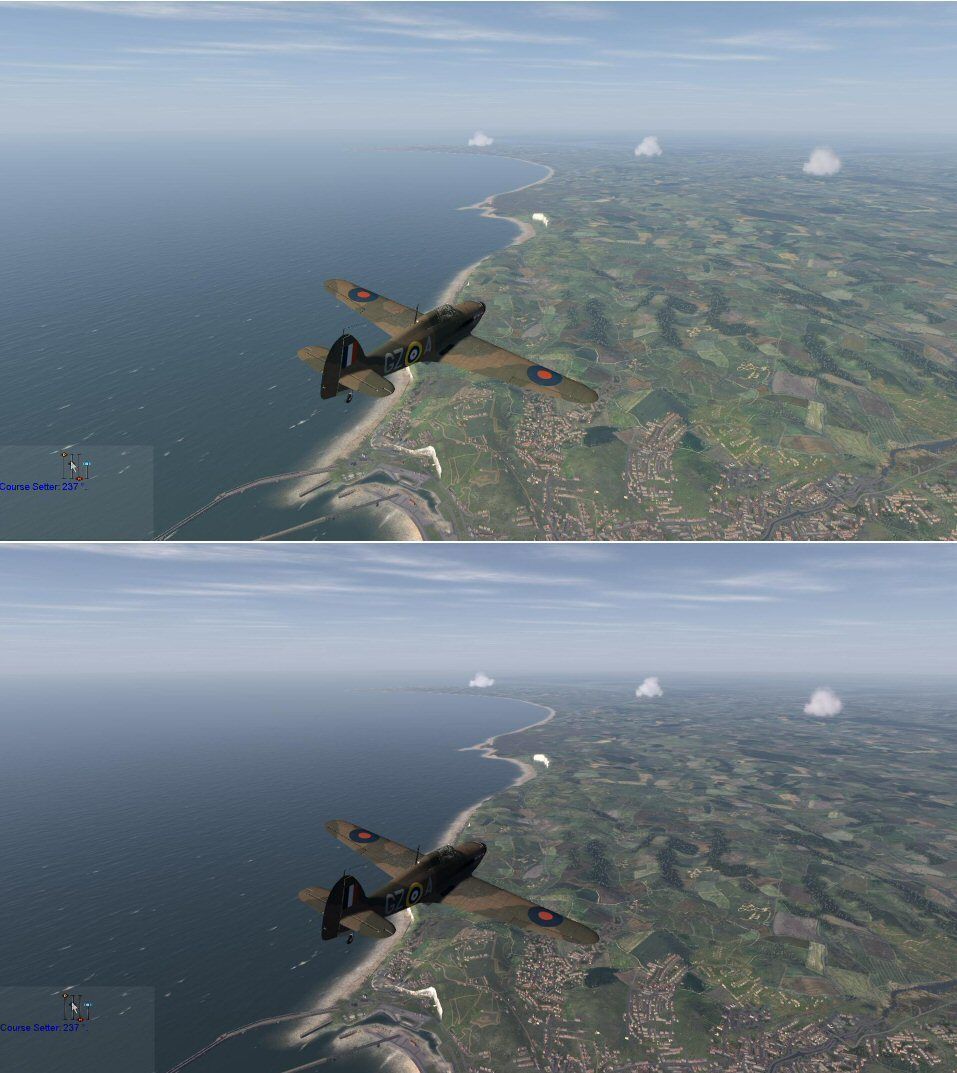 12 AM:  6 PM: 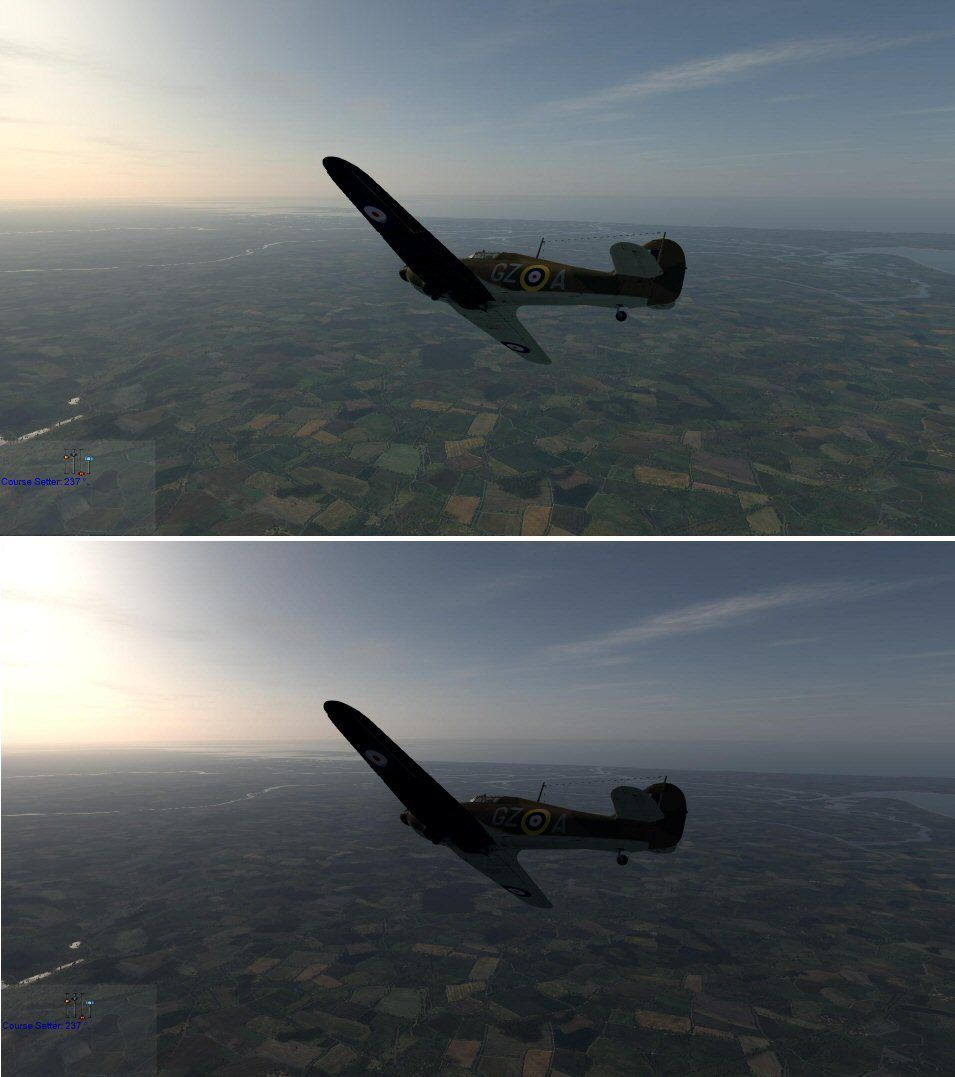
Last edited by ParaB; 10-23-2012 at 01:32 PM. 
|
|
#72
10-23-2012, 09:13 PM
|
|||
|
|||
|
Quote:
This tool is only good for stylized screenshots, when you don't change the time of day or lighting too much. It's not really working in a dynamic scenario. You can do almost the same thing by adjusting your monitor.
__________________
---------------------------------------- Asus Sabertooth Z77 i7 3770k@4.3GHz+ Noctua NH D14 cooler EVGA GTX 780 Superclocked+ACX cooler. 8GB G.Skill ripjaws DDR3-1600 Crucial M4 128GB SSD+Crucial M4 256GB SSD Seagate 750GB HDD CH Fighterstick+CH Pro pedals+Saitek X45 Win7 64bit
|
|
#74
10-23-2012, 09:46 PM
|
|||
|
|||
|
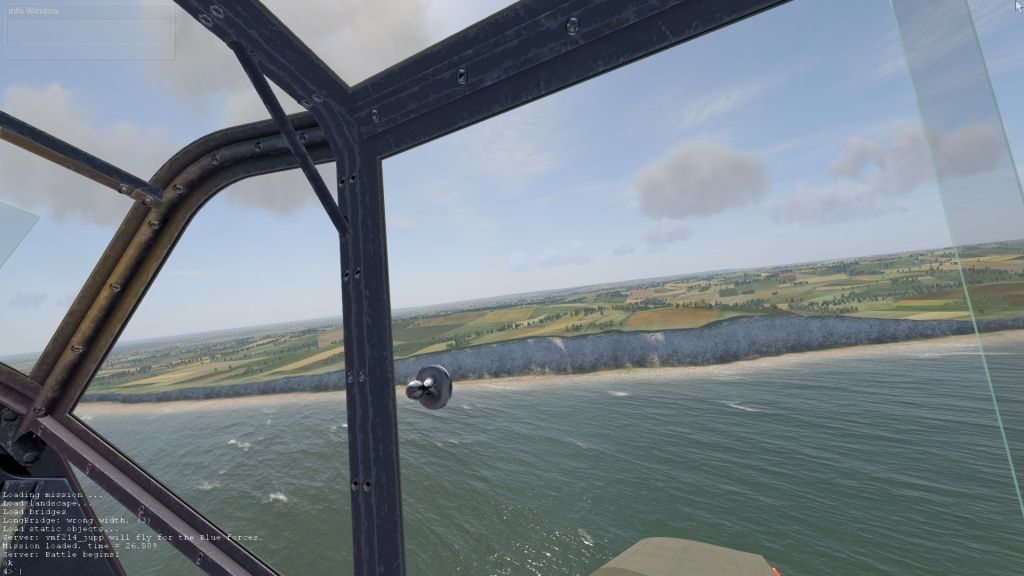
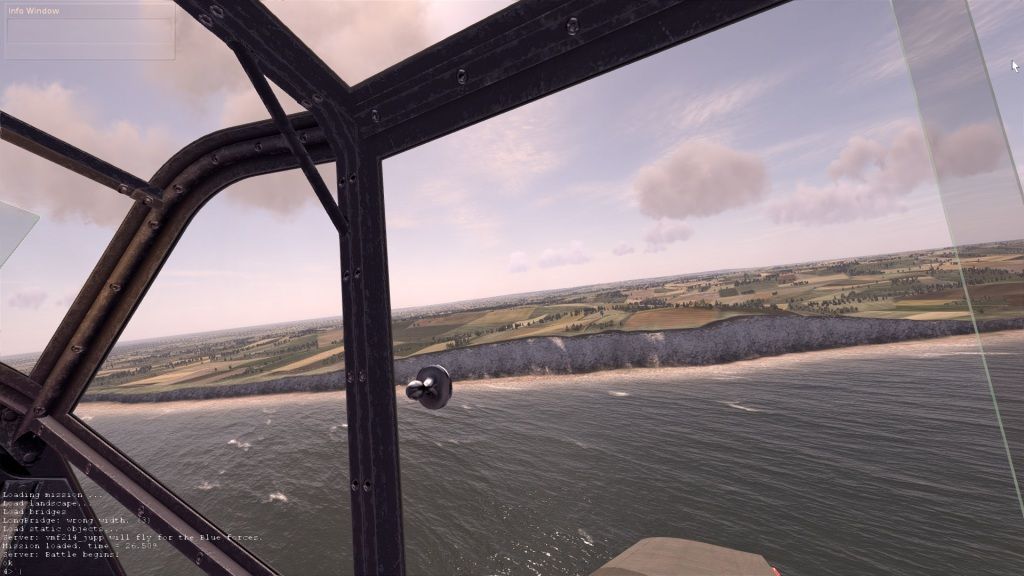
Tweaked my settings some more:
8 AM: 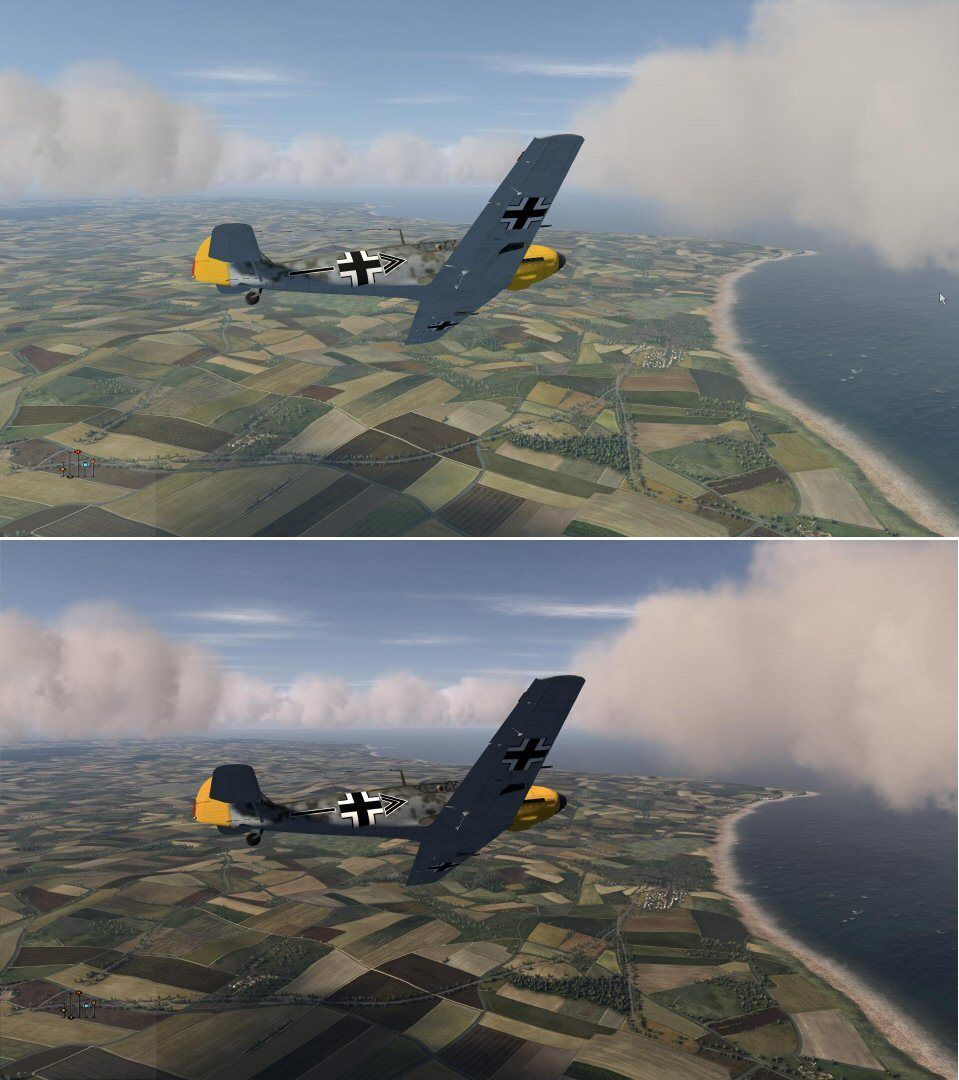 12 AM: 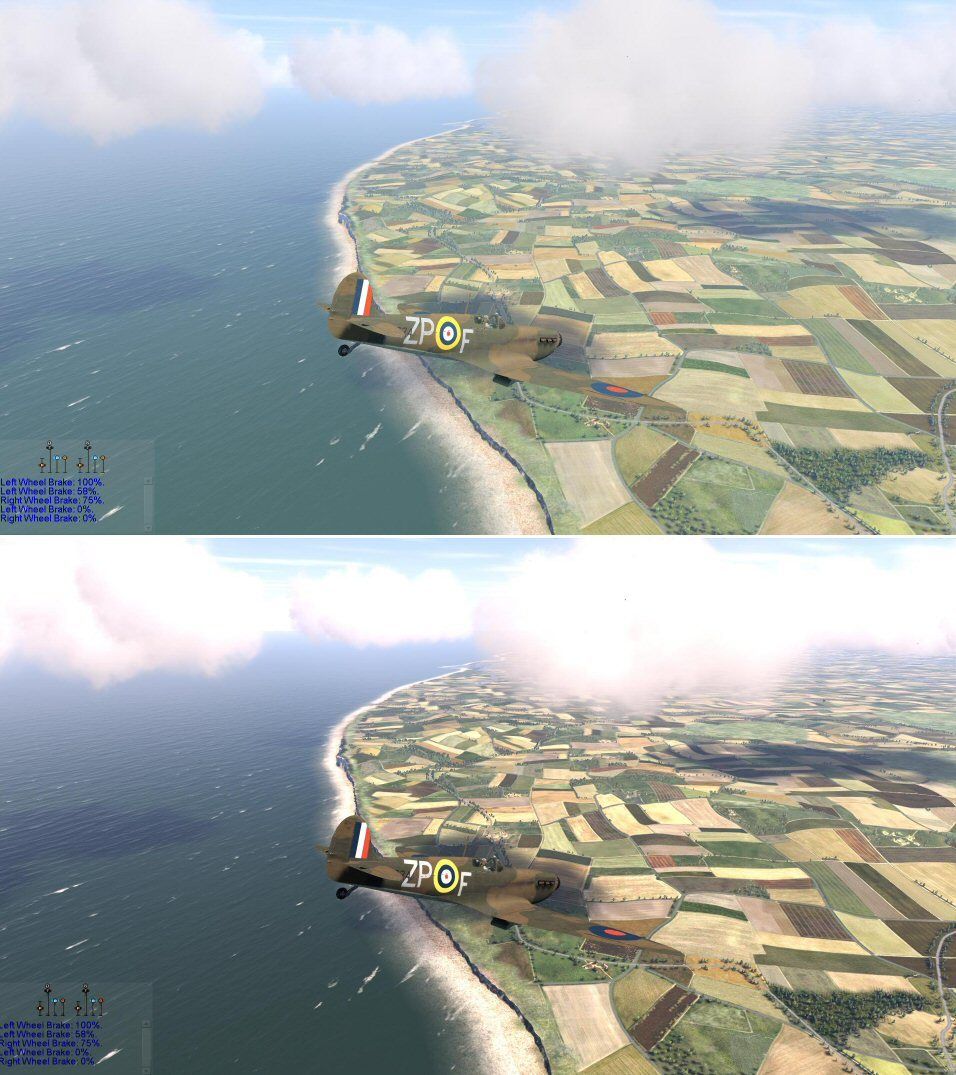 6 PM: 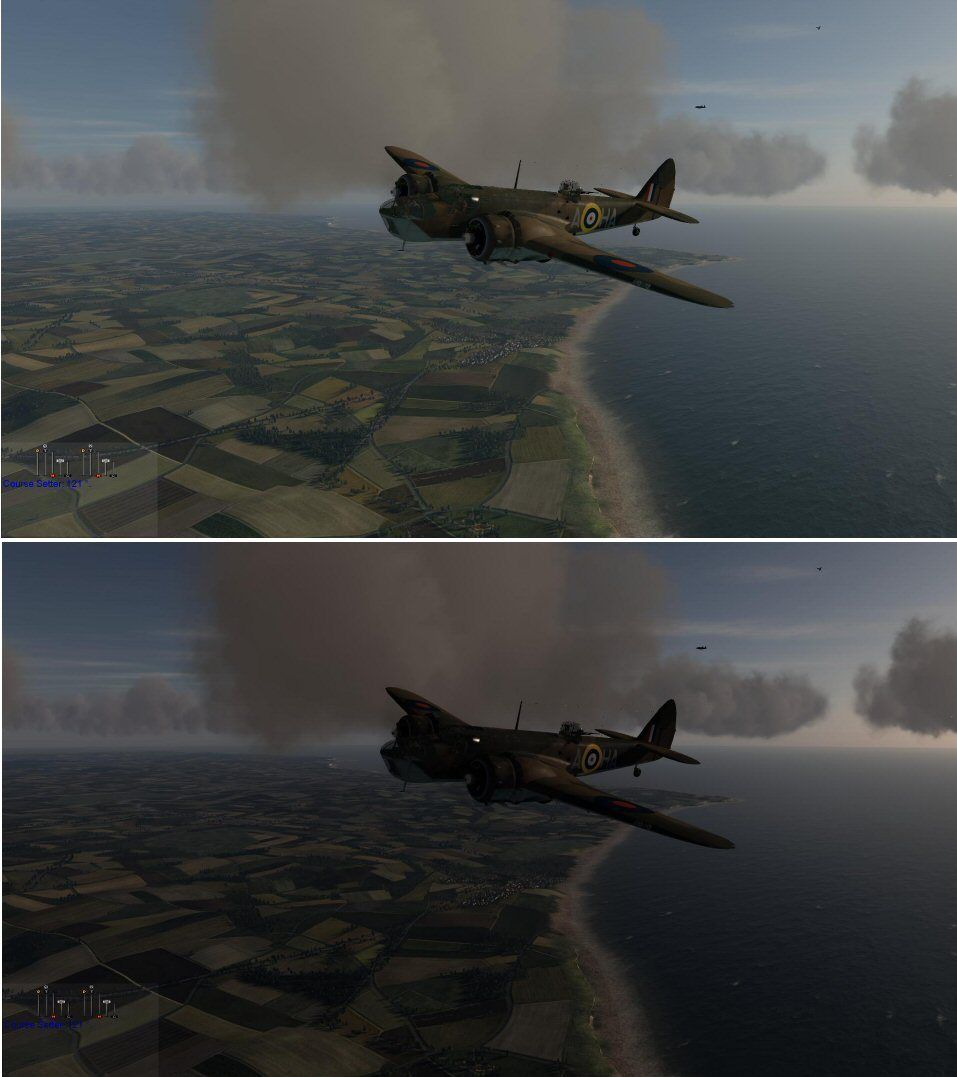 Of course brightness especially depends on your screen and its settings. My FXAA settings: /*================================================= ===================================== "USER" ADJUSTABLE SETTINGS ================================================== ====================================*/ // TODO: Normalize values to be on a human range scale, whole numbers prefered, decimals usable for micro adjustments // These values should have min/max limit checks included in their functions, so that the end user doesn't get crazy results /*------------------------------------------------------------------------------ FILTER SELECTION ------------------------------------------------------------------------------*/ // Comment to deactivate an effect. // Example: To disable the tonemap effect, use // in front of #define USE_TONEMAP #define USE_ANTI_ALIASING // #define USE_PRE_SHARPEN // #define USE_BLOOM *NOT WORKING #define USE_TECHNICOLOR #define USE_TONEMAP // #define USE_SEPIA // #define USE_VIGNETTE // #define USE_POST_SHARPEN // #define USE_FINAL_LIMITER /*------------------------------------------------------------------------------ FXAA SHADER ------------------------------------------------------------------------------*/ // Set values to calculate the amount of Anti Aliasing applied float fxaaQualitySubpix = 0.62; // Default: 0.75 Raise to increase amount of blur float fxaaQualityEdgeThreshold = 0.113; // Lower the value for more smoothing float fxaaQualityEdgeThresholdMin = 0.0312; // Lower the value for more smoothing /*------------------------------------------------------------------------------ PRE_SHARPEN ------------------------------------------------------------------------------*/ //For higher precision in the calculation of contour, requires slightly more processing power bool highQualitySharpen = 0; //0 = Disable | 1 = Enable // Set values to calculate the amount of AA produced blur to consider for the sharpening pass #define Average 0.8 #define CoefBlur 2 // Set values of the sharpening amount #define SharpenEdge 0.2 #define Sharpen_val0 1.2 /*------------------------------------------------------------------------------ BLOOM ------------------------------------------------------------------------------*/ // Number of samples per pixel taken for the Bloom effect. Don't set it to high! 4 = 25spp, 8 = 81spp, 16 = 289spp #define NUM_SAMPLES2 4 // Must be set with a value dividable by 2 float BloomPreset = 0; // Disabled = 0 (Valid Preset Values = 1 to 9) Preset value 1 to 9 takes control over the next 3 settings. float BloomThreshold = 0; // The min. level at which the effect starts (Valid Values = 1 to 9, use decimals for finetuning) float BloomWidth = 0; // Sets the width of the effect (Valid Values = 1 to 9, use decimals for finetuning) float BloomPower = 0; // The power of the effect (Valid Values = 1 to 9, use decimals for finetuning) /*------------------------------------------------------------------------------ TECHNICOLOR ------------------------------------------------------------------------------*/ #define TechniAmount 0.3 // 1.00 = Max #define TechniPower 5.0 // lower values = whitening // lower values = stronger channel #define redNegativeAmount 0.65 // 1.00 = Max #define greenNegativeAmount 0.75 // 1.00 = Max #define blueNegativeAmount 0.8 // 1.00 = Max /*------------------------------------------------------------------------------ TONEMAP ------------------------------------------------------------------------------*/ #define Gamma 1.5 #define Exposure 0.00 #define Saturation -0.05 // use negative values for less saturation. #define BlueShift 0.1 // Higher = more blue in image. #define Bleach 0.05 // Bleach bypass, higher = stronger effect #define Defog 0.0 // Strength of Lens Colors. #define FogColor float4(0.08, 0.28, 0.10, 3.0) //Lens-style color filters for Blue, Red, Yellow, White. /*------------------------------------------------------------------------------ SEPIA ------------------------------------------------------------------------------*/ #define Earthyellow // Color Tone, available tones can be seen in ColorTones.PNG (Do not use spaces in the name!) #define GreyPower 1 //(Valid Values = 1 to 9, use decimals for finetuning), defines how much of the grey color you wish to blend in #define SepiaPower 0 //(Valid Values = 1 to 9, use decimals for finetuning), defines how much of the color tone you wish to blend in /*------------------------------------------------------------------------------ VIGNETTE ------------------------------------------------------------------------------*/ // Vignette effect, process by which there is loss in clarity towards the corners and sides of the image, like a picture frame #define VignetteCenter float2(0.500, 0.500) // Center of screen for effect. #define VignetteRadius 1.00 // lower values = stronger radial effect from center #define VignetteAmount -0.70 // Strength of black. -2.00 = Max Black, 1.00 = Max White. /*------------------------------------------------------------------------------ POST_SHARPEN ------------------------------------------------------------------------------*/ // Controls additional sharpening applied after previous processing. Strength should be max 0.25! float Sharpen = 0.01; /*------------------------------------------------------------------------------ FINAL_LIMITER ------------------------------------------------------------------------------*/ // Controls the strenght of the limiter. 1.000 for default setting int LimiterStrenght = 1.000;
|
|
#76
10-23-2012, 11:21 PM
|
||||
|
||||
|
Nicely done ParaB looks great
__________________
 Quote:
Gigabyte X58A-UD5 | Intel i7 930 | Corsair H70 | ATI 5970 | 6GB Kingston DDR3 | Intel 160GB G2 | Win 7 Ultimate 64 Bit |
MONITOR: Acer S243HL. CASE: Thermaltake LEVEL 10. INPUTS: KG13 Warthog, Saitek Pedals, Track IR 4.
|
|
#77
10-23-2012, 11:48 PM
|
|||
|
|||
|
I think that's way too dark. This was suposed to be a summer map. The sun should set at least two hours after that 6PM shot.
Take one shot exactly at sunset, see if you can see anything.
__________________
---------------------------------------- Asus Sabertooth Z77 i7 3770k@4.3GHz+ Noctua NH D14 cooler EVGA GTX 780 Superclocked+ACX cooler. 8GB G.Skill ripjaws DDR3-1600 Crucial M4 128GB SSD+Crucial M4 256GB SSD Seagate 750GB HDD CH Fighterstick+CH Pro pedals+Saitek X45 Win7 64bit
|
|
#78
10-24-2012, 06:02 AM
|
|||
|
|||
|
Here my TONEMAP settings and some shots... (only reduced from 1080)
Code:
*------------------------------------------------------------------------------ TONEMAP ------------------------------------------------------------------------------*/ #define Gamma 1.20 #define Exposure 0.00 #define Saturation -0.70 // use negative values for less saturation. #define BlueShift 0.05 // Higher = more blue in image. #define Bleach 0.10 // Bleach bypass, higher = stronger effect #define Defog 0.055 // Strength of Lens Colors. #define FogColor float4(0.00, 0.70, 0.00, 0.90) //Lens-style color filters for Blue, Red, Yellow, White.    
Last edited by GrandSurf; 10-24-2012 at 06:05 AM.
|
|
#80
10-24-2012, 06:57 AM
|
|||
|
|||
|
ParaB, I strongly suggest you do some modification to these lines:
#define Gamma 1.5 #define Exposure 0.00 By increasing the gamme you've darkened the screen and added contrast (awesome! This game really needs that), but to compensate I reccomend increasing exposure, as this gives a dynamic highlight to the contrast, meaning the whole screen doesn't appear so dark! My go to is 1.3/0.3 (respectively), as this really fleshes out the shading on aircraft, without darkening the game to the point where an aircraft's dot blends in to the sea before 7pm. Also, seeing as the only lines you're changing are in one section, could you only post those lines? e.g. /*------------------------------------------------------------------------------ TONEMAP ------------------------------------------------------------------------------*/ #define Gamma 1.5 #define Exposure 0.00 #define Saturation -0.05 // use negative values for less saturation. #define BlueShift 0.1 // Higher = more blue in image. #define Bleach 0.05 // Bleach bypass, higher = stronger effect #define Defog 0.0 // Strength of Lens Colors. #define FogColor float4(0.08, 0.28, 0.10, 3.0) //Lens-style color filters for Blue, Red, Yellow, White. Though I see you're using technicolour as well! What modifications are you doing through that?
|
|
| Thread Tools | |
| Display Modes | |
|
|


 Linear Mode

